학습 관련된 내용을 매일 1day 1commit하기 위해 환경을 세팅하였습니다.
이 글은 git이 설치 및 github 가입이 완료된 상황에서
1. local repository 생성
2. github repository 생성
3. local - github 연결
4. push
에 대해서 설명합니다.
(참고)윈도우 Git설치
coding-factory.tistory.com/245?category=799065
[Git] 윈도우버전 Git설치하기 (Git for Windows)
GIt을 사용하려면 먼저 Git이 PC에 설치되어 있어야합니다. Git설치방법에 대해 알아봅니다. 윈도우버전 Git설치하기 1. Git 설치파일을 다운로드 받습니다. 아래에 링크되어 있는 페이지에 들어가서
coding-factory.tistory.com
github가입
GitHub: Where the world builds software
GitHub is where over 56 million developers shape the future of software, together. Contribute to the open source community, manage your Git repositories, review code like a pro, track bugs and feat...
github.com
1. local repository 생성
1.1. local repository 생성하고자 하는 위치로 이동

1.2. 우클릭 + Git Bash Here 실행

1.3. Git명령어 창에 입력 : git init
- 깃을 초기화 시켜 로컬 저장소 생성
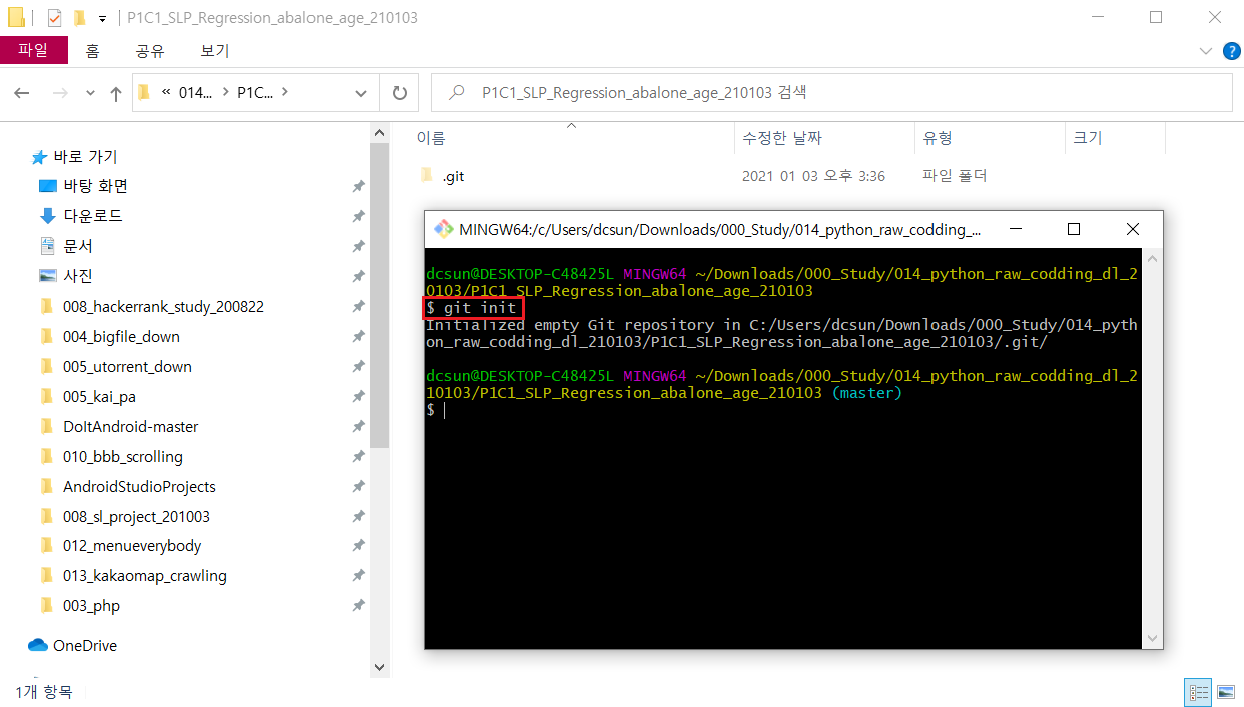
1.4. Git명령어 창에 입력 : git status
- 로컬 저장소 상태 확인
: On branch master -> master branch 사용
: No commits yet -> commit한 적 없음(로컬 저장한 적 없음)
: Nothing to commit -> 로컬 저장소에 파일 없음

2. github repository 생성
- github에서 생성
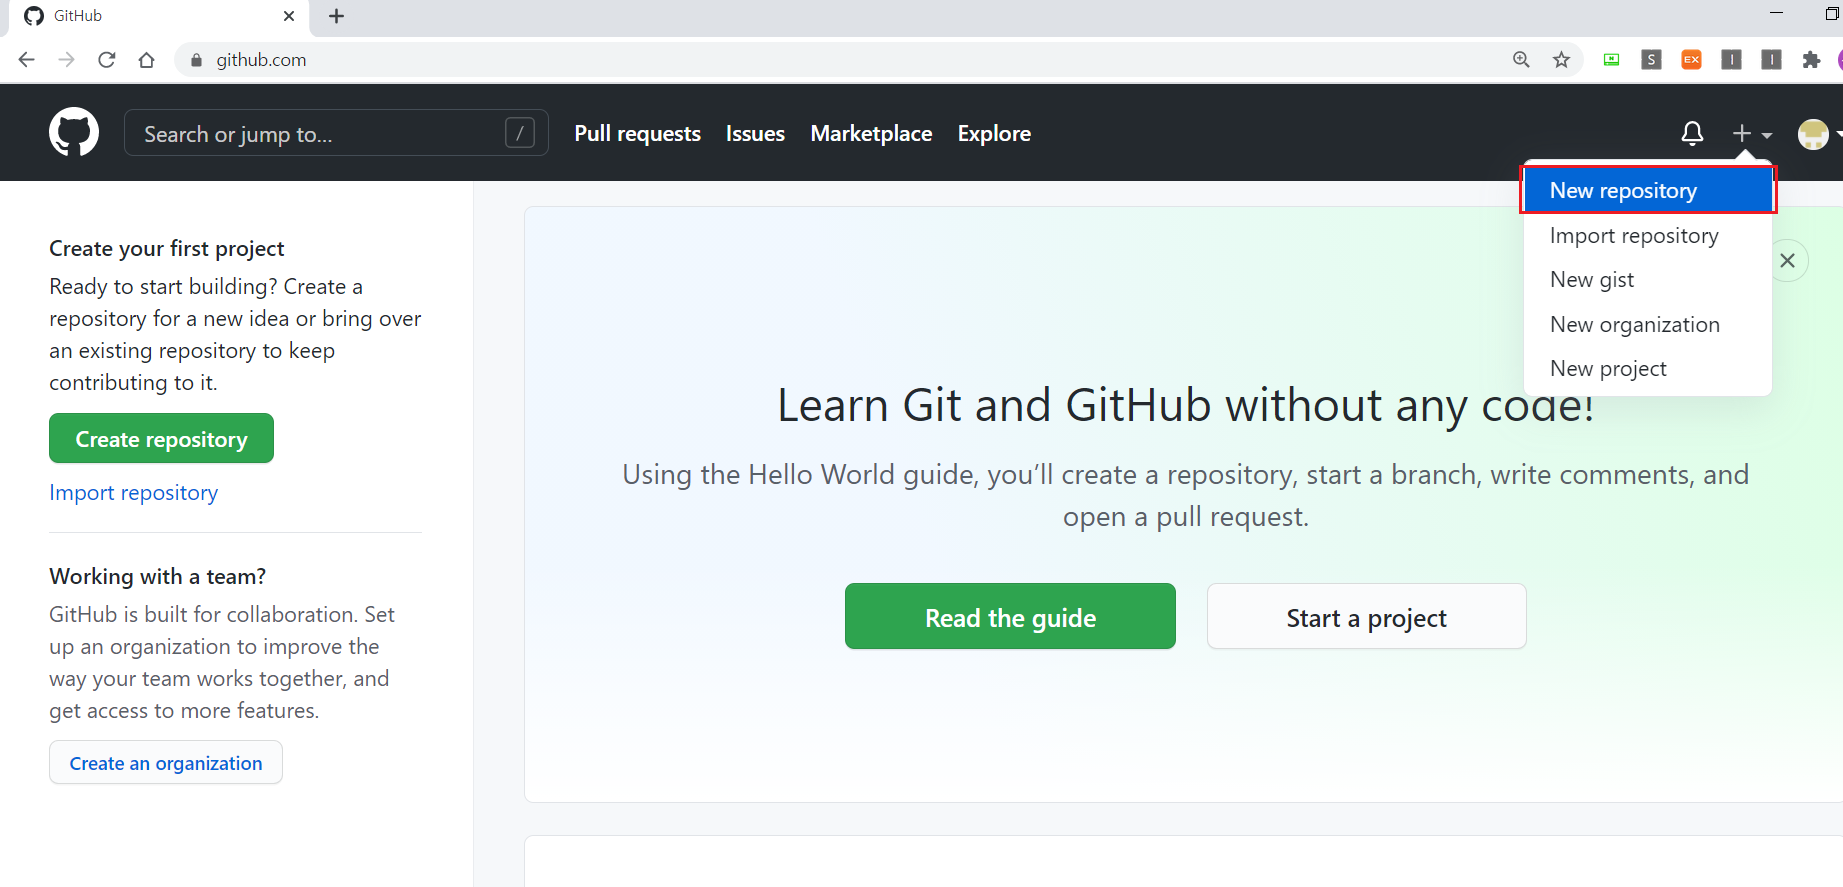
- Repository name 입력 및 기타 옵션 설정 후 Create repository

3. local - github 연결
3.1. github repository 주소 복사

3.2. git remote add origin [ repository 주소 ]
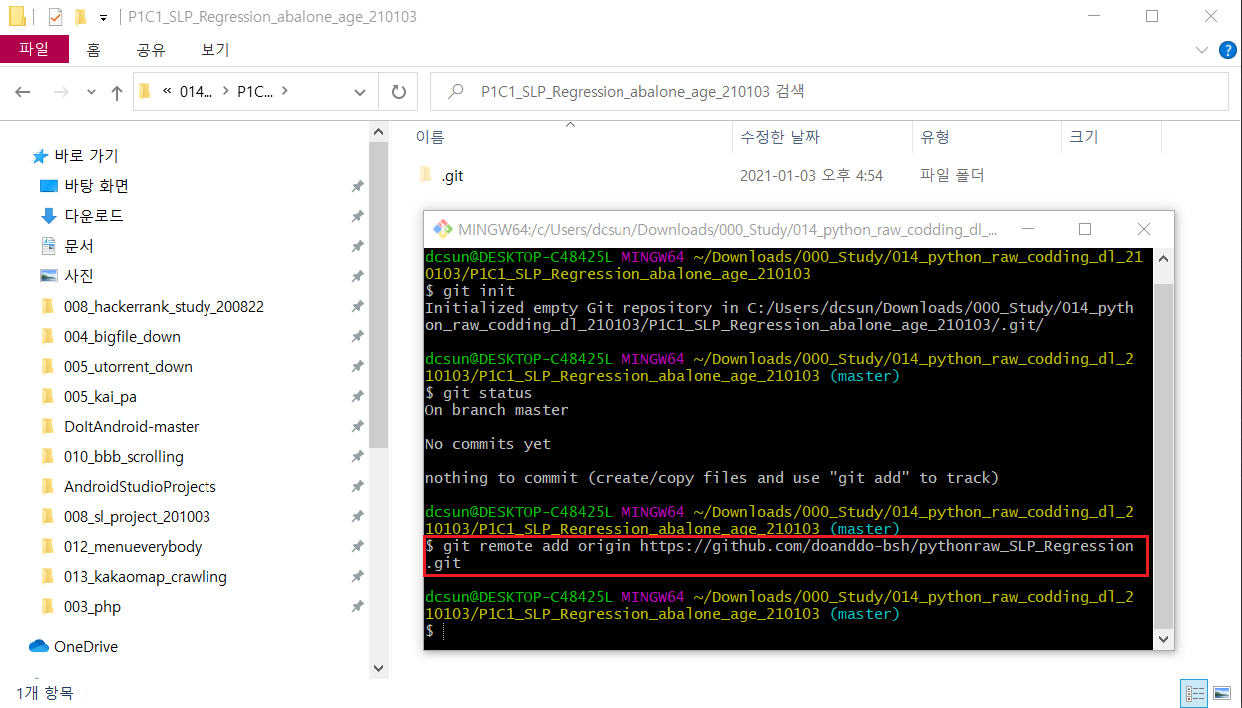
3.3. git remote -v
- 로컬저정소와 원격저장소 연결 완료

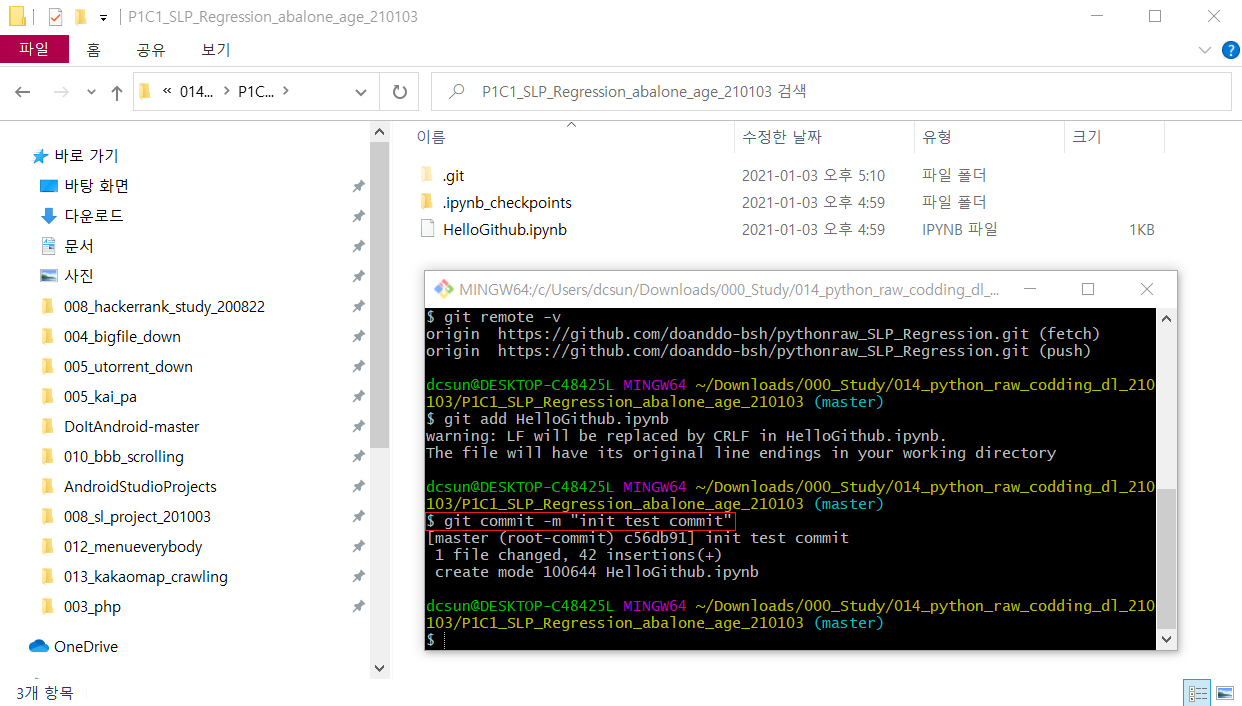
4. push
4.1. new file add
- 로컬 repository에 새로운 Test 파일을 하나 생성합니다.
- 해당 파일을 로컬 repository에 add해 줍니다.
- git add [파일명 or 폴더명] / git add . (모두 add 할 경우)

- warning 내용은 아래 글을 참고
요약 : 이하 명령어를 실행하면 된다
window일 경우 ->$git config core.autocrlf true
리눅스나 맥일 경우 ->$git config core.autocrlf true input
blog.jaeyoon.io/2018/01/git-crlf.html
Git 에러 CRLF will be replaced by LF (혹은 반대) 핸들링하는 방법
맥/리눅스 이용 개발자와 윈도우 개발자가 협업할 때 왜 발생할까? 터미널에 git 명령어를 입력했는데 다음과 같은 에러가 뜨는 경우가 있다: ```bash warning: CRLF will be replaced by LF in some/file
blog.jaeyoon.io
4.2. commit
- git commit -m "해당 commit을 설명하는 내용"
해당 commit을 설명하는 내용을 입력하고 commit
4.3. push
- git push origin master
- github email과 password 입력
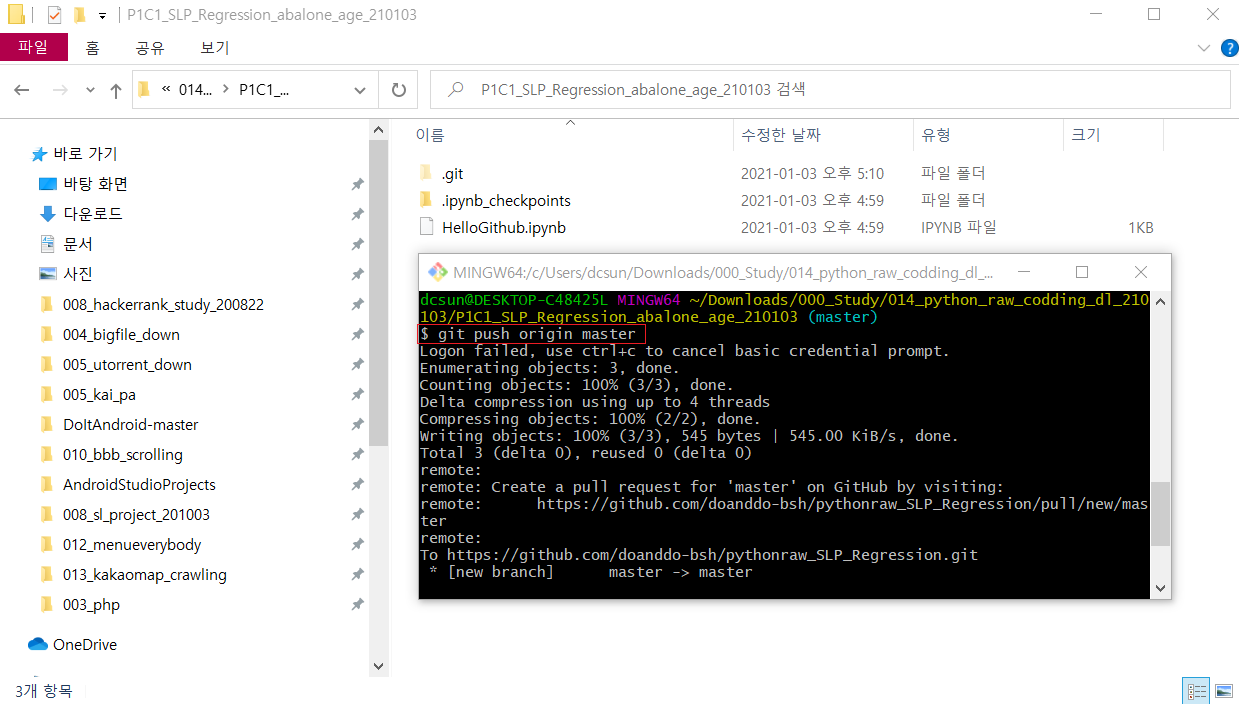
- github에 add한 파일이 올라온 것을 확인할 수 있음

- 로그인 유지 방법
velog.io/@cyongchoi/Github-%EB%A1%9C%EA%B7%B8%EC%9D%B8-%EC%9C%A0%EC%A7%80%ED%95%98%EA%B8%B0
Github 로그인 유지하기
깃헙에서 1시간동안 나를 기억하게 하여 터미널에서 반복적인 암호를 입력안해도 됩니다.
velog.io
이상 git의 기본적인 사용법에 대해서 알아봤습니다.
git pull 및 merge 등의 내용은 차후 작성하도록 하겠습니다.
git 관련 상세 내용은 아래 블로그들을 참고 바랍니다. 감사합니다.
(참고)git 상세 활용
009.Git-bash 실습해보기 (push, pull, merge)
Git-bash 실습해보기 앞전에 :009.Git-bash (checkout, reset, add, rm, commit)" 과정에 이어서 설명을 하겠다. 앞전 실습에서 한 내용은 $touch add_test 를 통해서 새로운 파일을 생성하였으며 readme.txt 를..
parkhyunjin.tistory.com
(참고)git 기본 설정
blog.reviewnb.com/github-jupyter-notebook/
How to use Git / GitHub with Jupyter Notebook
This article is Git 101 for Jupyter users that are not familiar with Git / GitHub. It’s a hands on tutorial & is meant to be comprehensive. Feel free to skip a section if you are already familar with it. At the end you’ll be able to,
blog.reviewnb.com
(참고)git 기본 설정
coding-factory.tistory.com/244
[Git] Git 레파지토리 생성 & 소스 올리기 (Git Bash활용)
GitHub에서 원격저장소를 만든 뒤 Git Bash를 활용하여 Push하는 방법입니다. Git Repository생성 깃허브 바로가기 1. 위에 링크된 깃허브 사이트에가서 로그인을 합니다. (회원이 아니라면 회원가입을 해
coding-factory.tistory.com
- 추가 -
20년 10월 1일 부터 default branch가 master에서 main으로 변경됨
필수 명령어
branch 조회
: git branch
branch 생성
: git branch <생성하고자하는 branch명>
: git branch issue1
branch 변경
: git checkout <변경하고자하는 branch명>
: git checkout issue1
git config 조회
: git config --list
git readme로 인해 main -> main (non-fast-forward) 오류 발생시
: git push origin +main
잔디가 안심어질때
: git confog --local user.email "yourEmailAddress"
레파시토리에서 커밋을 볼때 그 그림이 중요...

아래와 같이 나오면 잔디가 안심어진다.